Schematics

LibreServo v2.3.1. Release Version
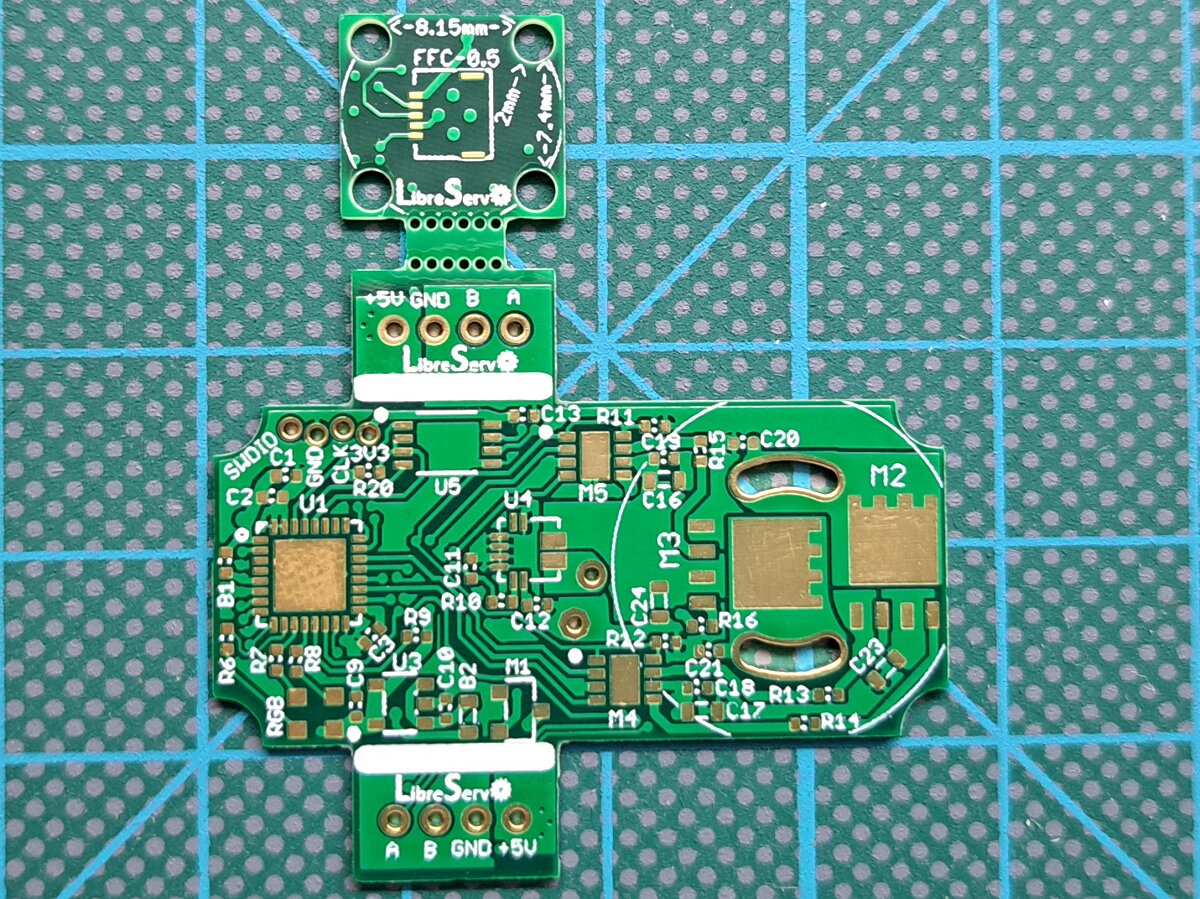
LibreServo v2.3.1 Servo hack LibreServo v2.3.1. Release Version

LibreServo has finally reached the first final Hardware release (version 2.3.1)!

party


It has been a long road and there is still a long road ahead, but now on the software side. LibreServo will not stop here and later on there will come new projects that make use of LibreServo, like a possible 3D biped robot, but all of that will come in the future and all of it will be announced here so let's stop the guessing and talk about the now.

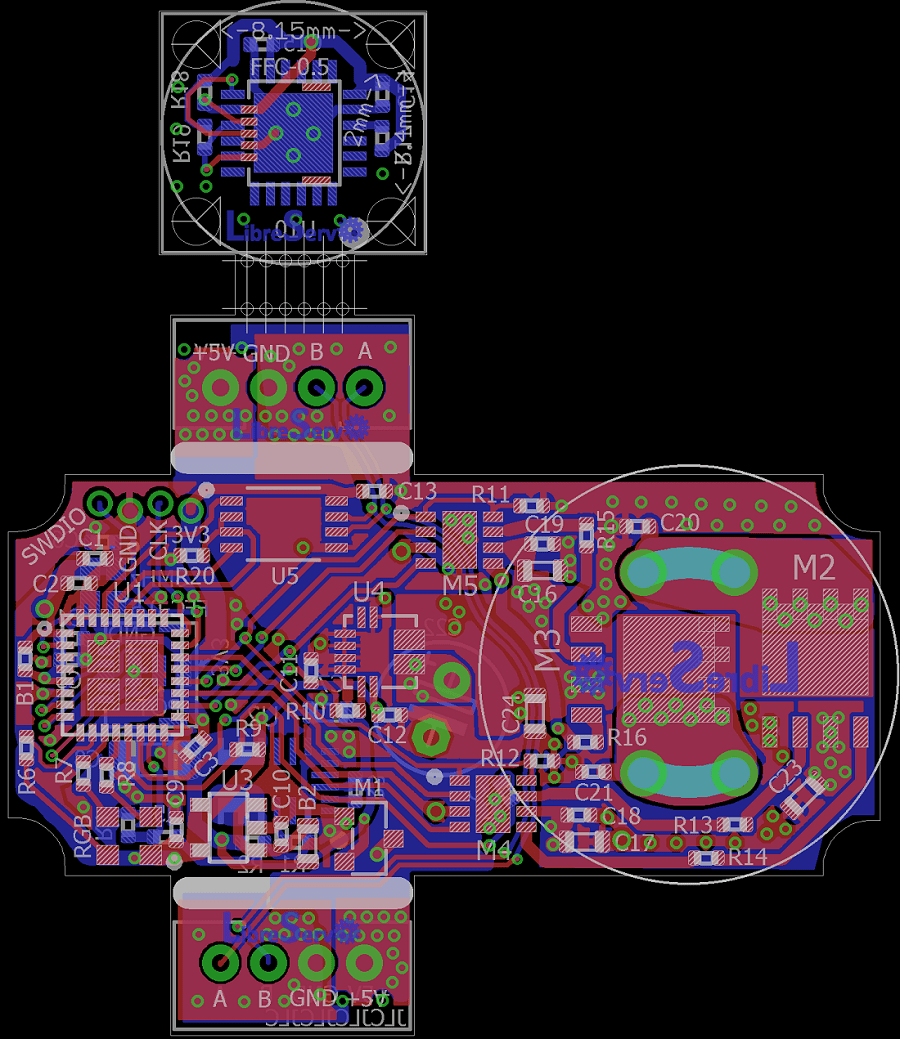
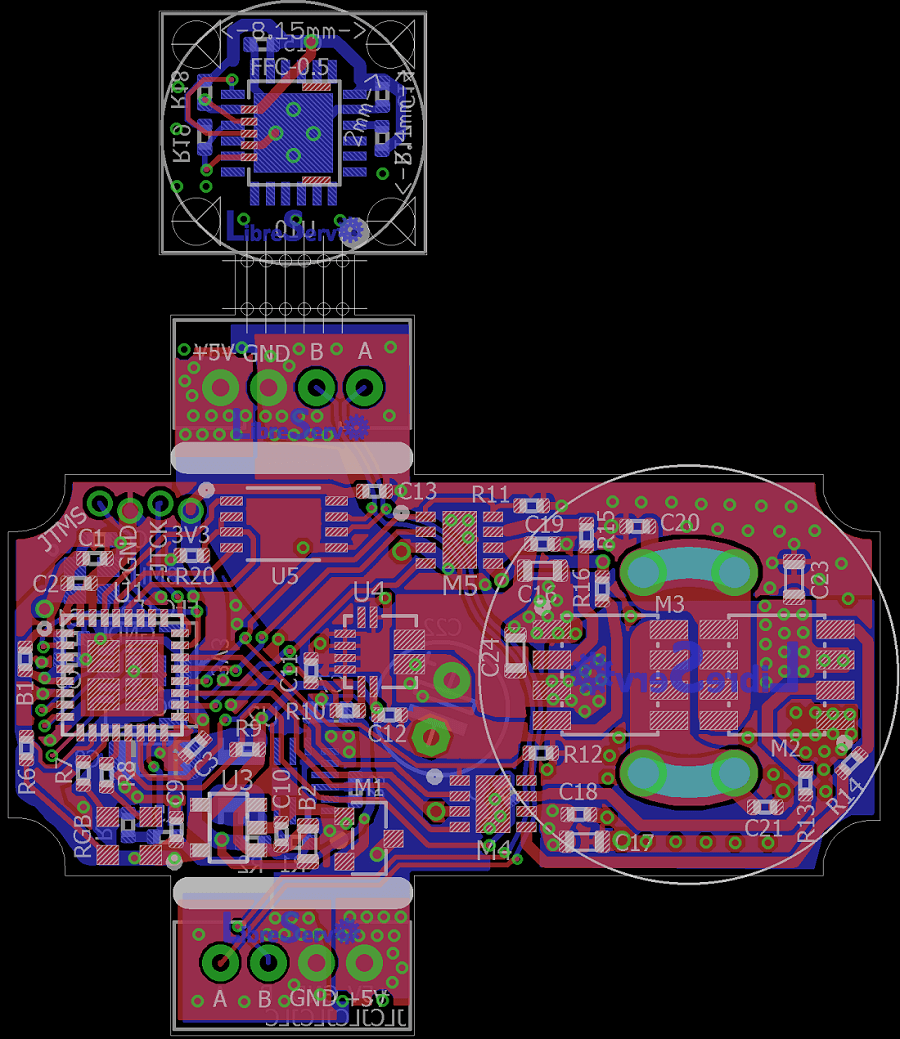
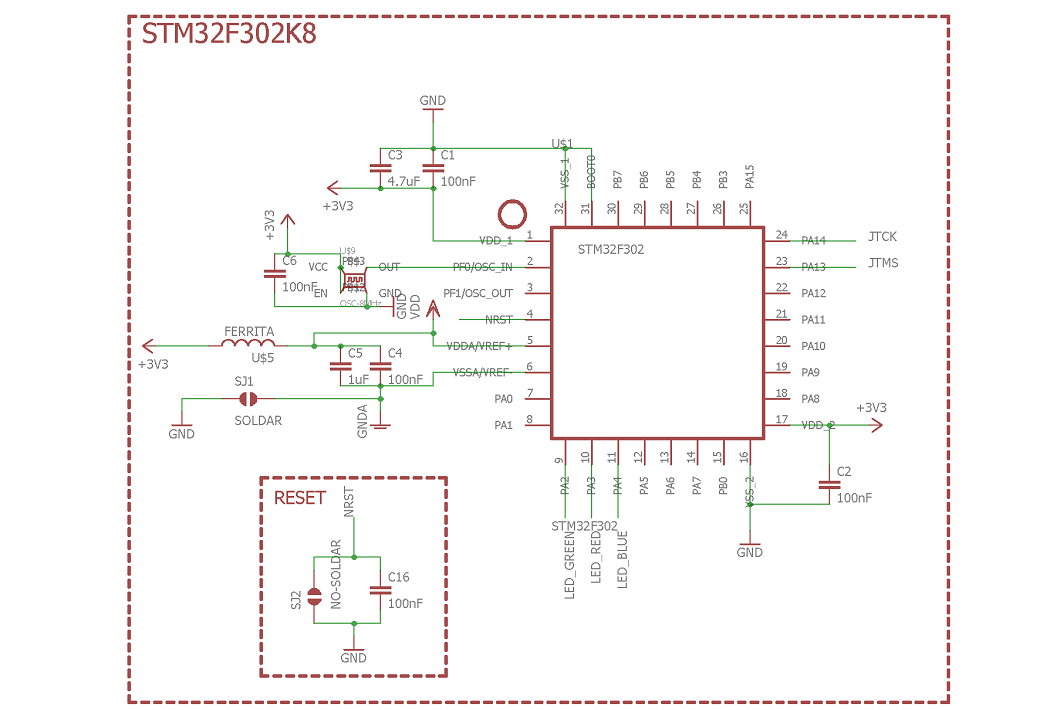
LibreServo v2.3 schematics. Candidate version

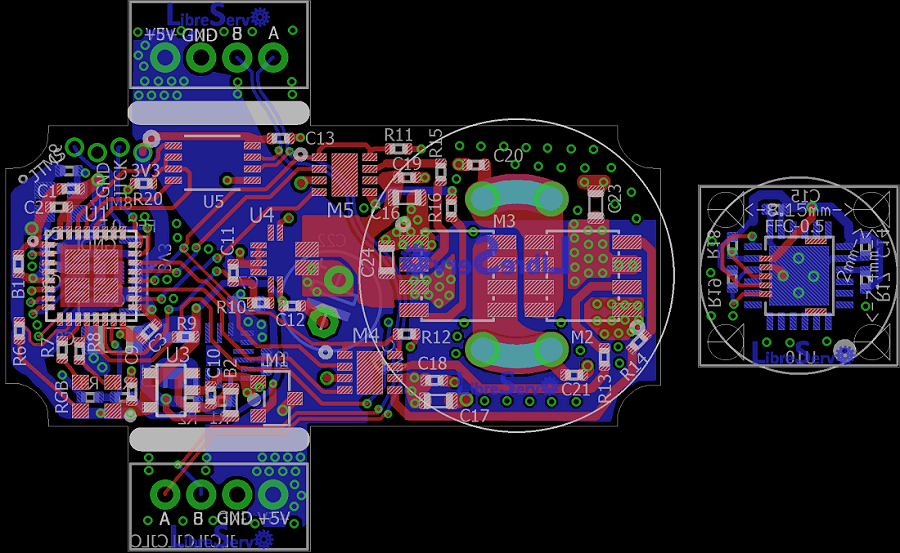
LibreServo v2.3 PCB servo hack LibreServo v2.3 PCB

A few days ago I presented LibreServo version 2.2 and announced that I had one last final change... this time the wait has not been long and I bring the new version of LibreServo, version 2.3.
This version should already be the final hardware version of LibreServo .
The biggest change that LibreServo has had in this latest version with respect to the previous one is the H-bridge. Risky move seeing what it cost me to make it work but I think it will be a remarkable improvement and the missing component to make LibreServo the definitive option.

Tracespace and LibreServo

LibreServo tracespace.io

Now the LibreServo gerbers are going to look much better. For some time now I have been using the tracespace website to be able to see the gerbers easily and quickly before placing any order.
I liked the web so much that while researching I discovered that you can create static links to my gerber files, so said and done, I have modified the last LibreServo schematics articles and I have added a button that links directly to tracespace so you can see the schematics in more detail and in an interactive way.

LibreServo v2.2. Pre-Release version?

LibreServo v2.2 PCB servo hack LibreServo v2.2 PCB

Pre-final version. This was going to be the final version, was going to be, because in the end it is not going to be.

  • The oscillator has been changed for a more compact one.
  • The position of several components has been slightly reworked
  • Ground planes have been generated on the outer layers
  • The position of the silk-screen printing has been repositioned with the idea that the vias will be capped and it will be possible to silkscreen on top of them
  • The PCB has been narrowed by a few tenths of a millimeter to fit perfectly to the servomotors
  • The two PCBs have been joined by using mouse-bites

In general, they are all small changes, but... just before placing the order I went back to review each and every one of the components, and there is one that I have decided to change and it is a very important one that has been in LibreServo from the beginning. In the next article I will unveil the final change 😉

LibreServo v2.1 Schematics

LibreServo v2.1 PCB LibreServo v2.1 PCB
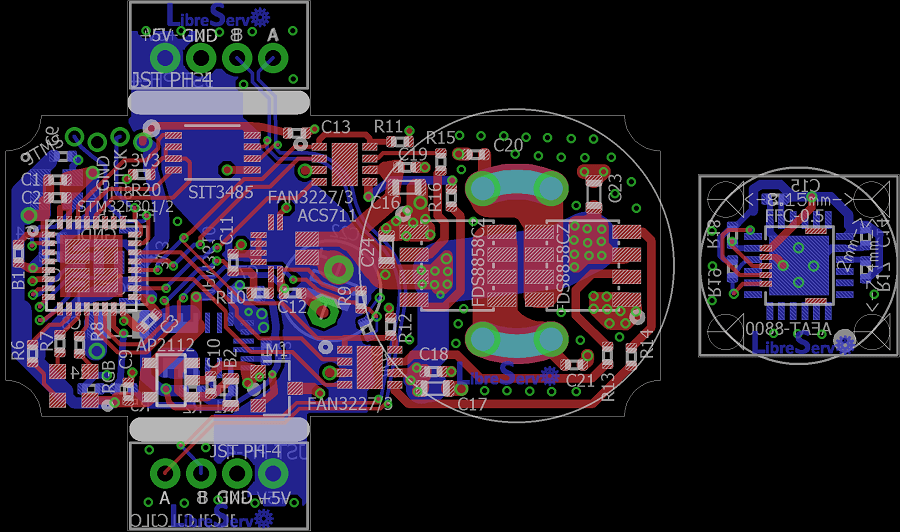
These schematics will not last long because new changes have already been made and will be sent to manufacture in the coming days if all goes well. The order of the next version will coincide with the Chinese vacations, but I hope not to have any problem except some small delay already announced by the manufacturer JLCPCB.

In this LibreServo version, the main PCB, goes from 4 to 6 layers because JLCPCB, as we mentioned in the article of changes in LibreServo v2.1, has made a very aggressive offer in which it is cheaper to manufacture a 6-layer PCB instead of 4, taking into account that in 6 layers you get for free the ENIG finish (in gold) and the vias are filled and covered, in other words, a totally professional finish. It is a really crazy offer.

Despite all this, of course LibreServo will maintain full compatibility with 4 layers and only when generating the gerbers the central layers are removed and the matter is solved.

LibreServo v2 Schematics

PCB para test LibreServo LibreServo v2 PCB

I had pending for months to upload the schematics to the web. The schematics are exactly the same with which I made the LibreServo v2 PCBs but with the texts corrected in position so they read better.

In previous posts as you can read in the article of the first LibreServo test board and in the conclusions of the second LibreServo test-board, the LibreServo changes were massive in each and every aspect. Virtually every component was overhauled and moved to a two PCB, four-layer design.

We have a winner. Test results in PCB test 2


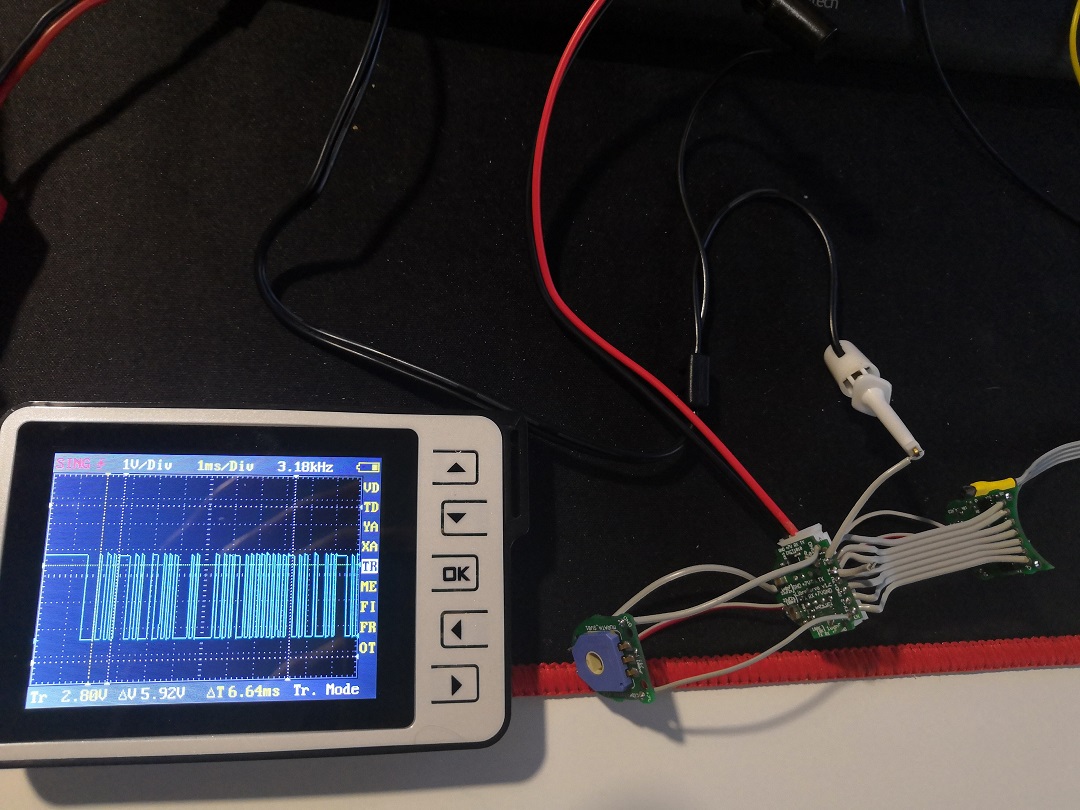
LibreServo sending data via RS485 to Arduino plotter

After several tests, the LibreServo hardware is finally chosen and it's working, even the H-bridge that gave me a lot of problems! In general, all the parts of LibreServo remain as they were, because they were already working correctly, except the parts are discussed in this article.

Manual primer proyecto STM32. Parte 1: Diseño Electrónico

Hace años me costó bastantes dolores de cabeza tener todas las piezas claras y como sé que el artículo más visitado de LibreServo es Software para programar STM32, voy a intentar realizar un artículo que conglomere todos los pasos necesarios para poner a funcionar desde cero un microcontrolador STM32, tanto a nivel de diseño electrónico, como de programación. Como LibreServo está basado en el microcontrolador STM32f302K8, todo irá referenciado a éste microcontrolador por facilidad, pero los pasos son exportables a todos los microcontrolador más comunes de la familia STM32 ARM Cortex de ST, de hecho, si es tu primer proyecto no sería la mejor opción con la que empezar, más que nada por el encapsulado que trae. El STM32F302C8 sería el gemelo pero en un encapsulado mucho más sencillo de soldar. Pero hay literalmente decenas de microcontroladores según lo que cada uno requiera.

Esquema electrónico mínimo para STM32 Esquema electrónico mínimo para STM32

"Magic Smoke" en LibreServo ¡Otra vez!

Estaba muy contento con el blanco del led Asmb-mtb0-0A3a2 y empecé a configurar el puerto serie.

El puerto serie debido a la altísima velocidad que puede alcanzar (9Mbps) hay que configurarlo mediante DMA, en otras palabras, que el envío y recepción de datos se haga en background sin usar ciclos de reloj de nuestro microcontrolador. El envío es fácil, pero la recepción requiere que se sepa de antemano el número de bytes a recibir... lo cual no sabemos. Habrá que darle alguna vuelta a la programación, pero tengo alguna idea.

Sea como fuere, primero empecé a configurar el puerto serie de transmisión, TX. Y tras unas pruebas... fumata blanca.

TX de LibreServo v1.c funcionando

Resistencias para el LED RGB [Asmb-mtb0-0A3a2]

Tras muchísimos cálculos matemáticos... Todo se ha ido al garete y la realidad es bastante distinta a la calculada. ¡Menos mal que decidí comprar un montón de valores de resistencias para poder hacer las pruebas! El mayor problema que he tenido, es que el datasheet de Asmb-mtb0-0A3a2 no muestra dato alguno para cuando el led funciona a menos de 5mA, que es precisamente en el rango en el que funciona en LibreServo el LED.